Renovate Smarter: Beautiful Spaces Without the Bin
Room‑by‑Room Material Audit
Walk each space and list everything with precision: cabinets, countertops, appliances, plumbing fixtures, tile, hardware, lighting, and trim. Note condition, dimensions, brands, and probable reuse avenues. Photograph items, tag them, and create a simple spreadsheet that tracks destination, pickup timing, and responsible parties. This calm cataloging avoids rushed landfill decisions when schedules tighten. It also reveals hidden value—like solid wood drawer boxes or vintage pulls—that can be revived on site or donated to eager DIYers.
Deconstruction Scheduling
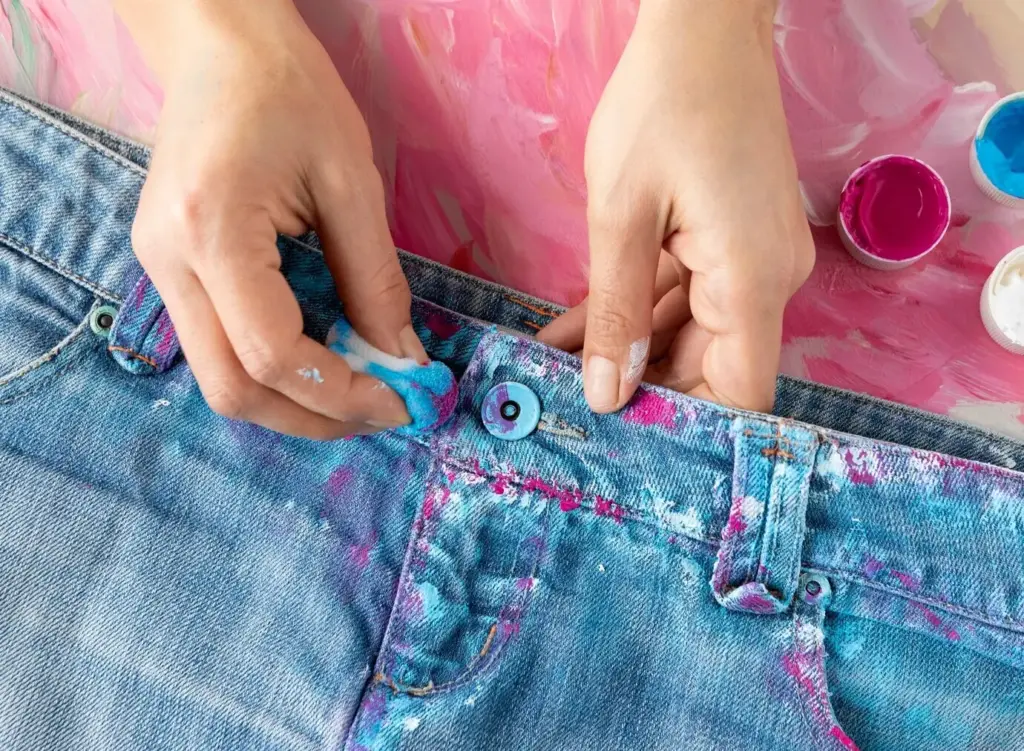
Replace the smash‑and‑haul approach with a gentle, ordered sequence. First soft‑strip doors, drawers, lighting, and fixtures; then remove countertops, appliances, and cabinets; finally lift flooring or wall surfaces, preserving substructures when possible. Book reuse partners early so donations move out the same day. Expect a modest time premium that often pays back through avoided disposal fees and retained materials. Homeowners report less dust, fewer surprises, and an almost ceremonial respect for what’s leaving and what lives on.
Stakeholder Buy‑In
Share the plan with your contractor, trades, neighbors, building manager, and donation partners. Clarify access hours, elevator protection, parking, and staging areas for salvaged materials. Invite crews to suggest reuse ideas; installers often know clever second‑life options. Post simple signage for sorting streams and appoint someone to monitor compliance. When everyone understands why the process matters—lower costs, safer air, community benefit—participation rises. The cultural tone you set here will echo throughout design choices and daily site decisions.
Source Materials with a Second Life


Build for Disassembly and Repair
Healthy Finishes and Durable Details
Low‑VOC, High‑Performance Coatings

Timeless, Repairable Aesthetics

Grout, Sealant, and Caulk Strategies

Water, Energy, and Appliance Smarts
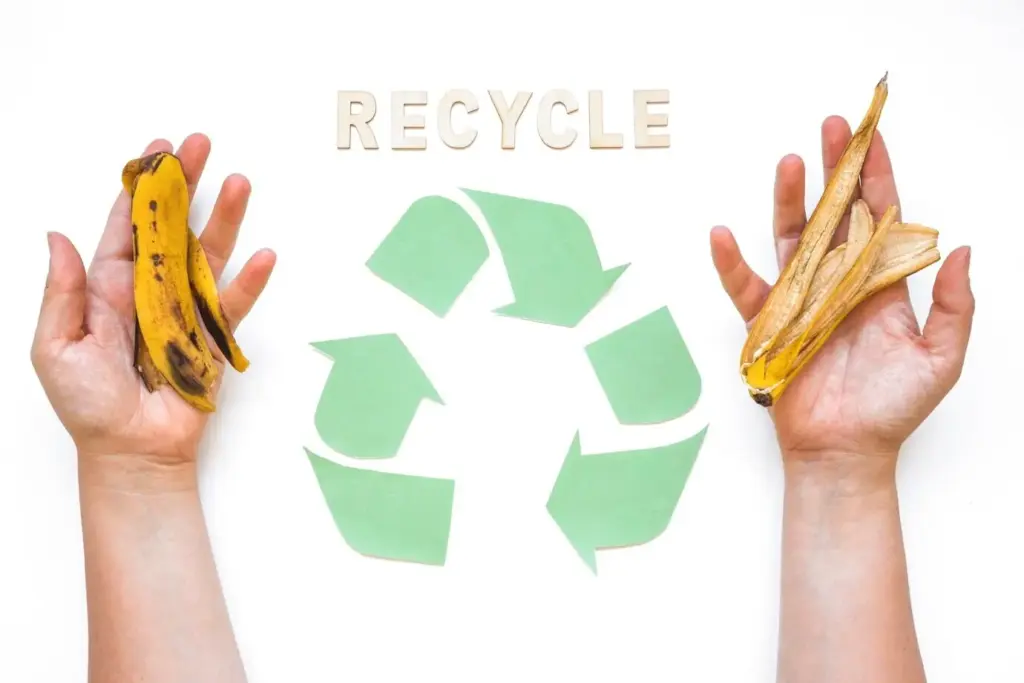
Deconstruction, Donation, and Recycling
Soft‑Strip Deconstruction Guide
Donation That Makes a Difference
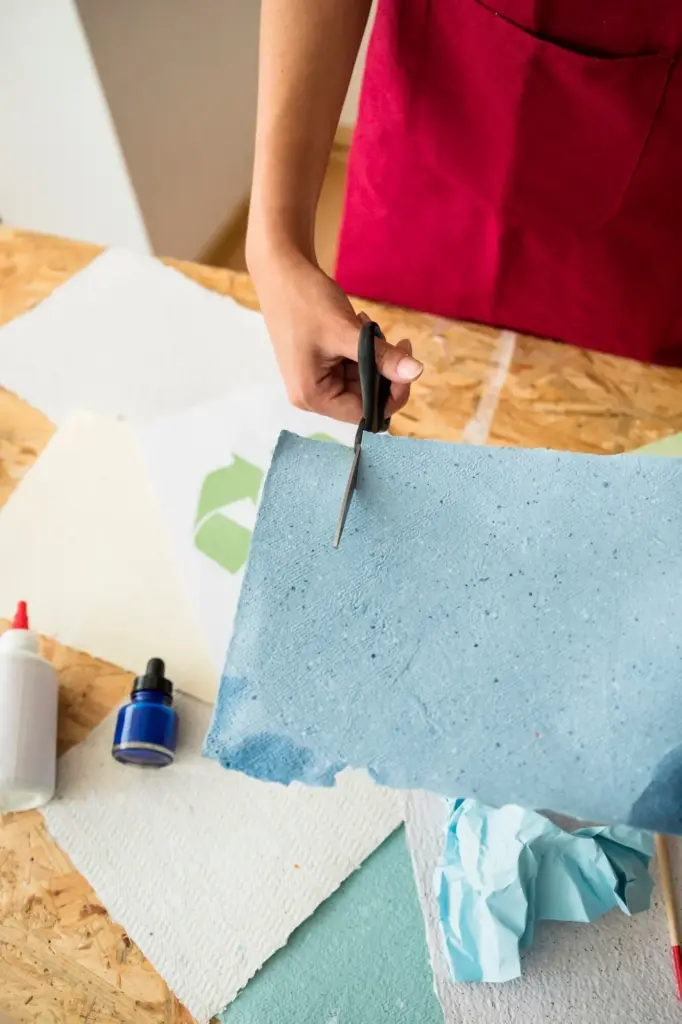
Sorting to Avoid Contamination